Learning objective:
The MINDBODY Business App is a valuable way to help operate the studio on a day-to-day basis, facilitating new Membership sales, customer account management, and running some basic reports. The Business App is not intended to be the primary method of running MINDBODY for your studio, but is a great solution for creating a new member, making a sale, or checking sales figures if a computer is not available, or on the go.
Since the Business App is very expansive we have broken the Business App training material into individual tutorials focused on individual features of the app such as Retail, Clients, and Reports.
This tutorial will concentrate on the Reports features.
Searching Customer
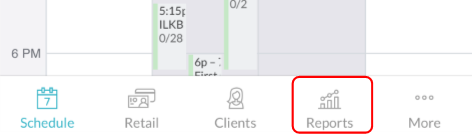
- Once you have logged in to the app click the Reports icon in the bottom section of the screen.
Business Snapshot
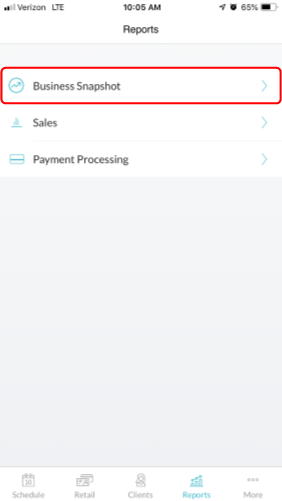
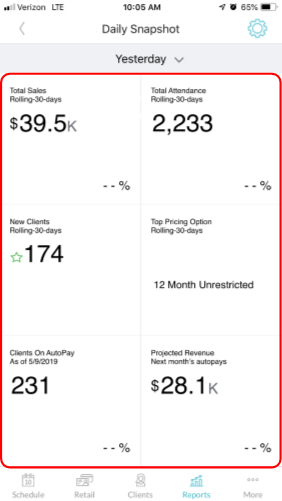
- From the Reports page, select Business Snapshot
- The Daily Snapshot will provide a collection of data summarizing the businesses performance for the specified date including:
- Total Sales
- Total Attendance
- Number of New Clients
- Top Pricing Option
- Total Client on Autopay
- Projected Revenue
- To select a different date, tap Yesterday
- To update the Accounting Basis or report Date Range, tap the gear in the upper right corner of the page

Sales Report
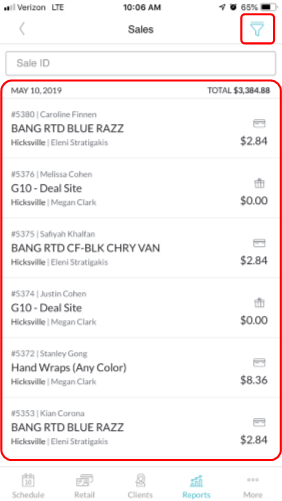
- From the Reports page, select Sales
- If you would like to enable a specific date range tap on the Filter icon in the upper right corner of the screen.
- To see more details about a specific transaction tap on the transaction in question.
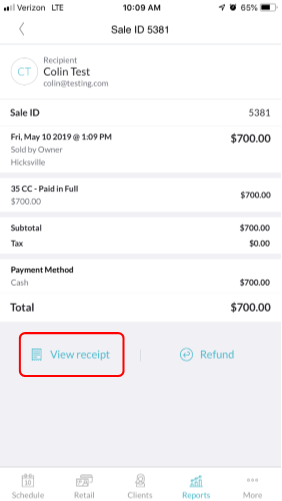
- From the Sale ID page you may view many different details about a transaction, such as:
- Transaction Date & Time
- Pricing option purchased
- Price (and Tax) paid
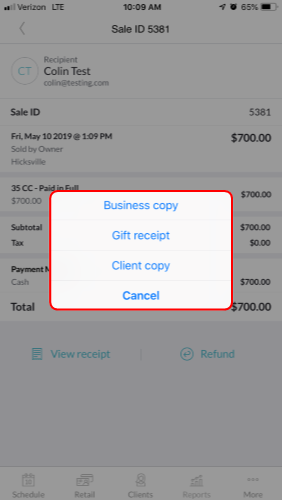
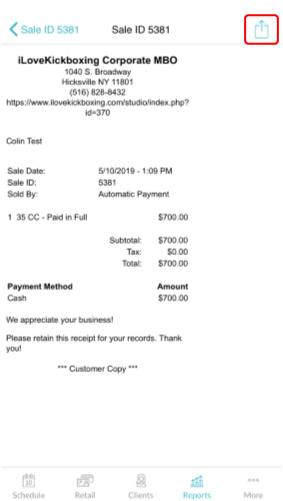
- If you want to view and send the receipt to the customer, tap View Receipt.
- Select the type of receipt you want to view and send to the customer.
- To send the receipt to the customer tap on the send icon in the upper right corner of the screen.
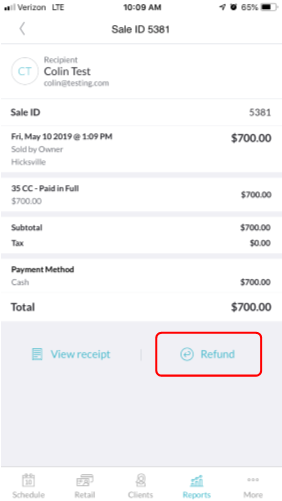
- If you want to process a refund of the transaction, tap Refund.
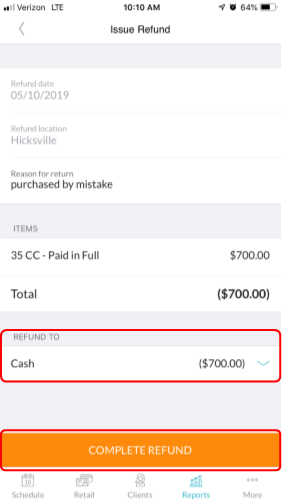
- Select a refund payment method in the Refund To section
- Tap Complete Refund to complete the refund transaction.
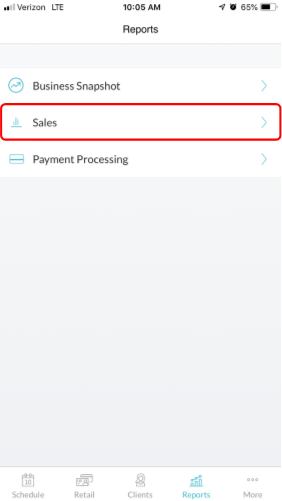
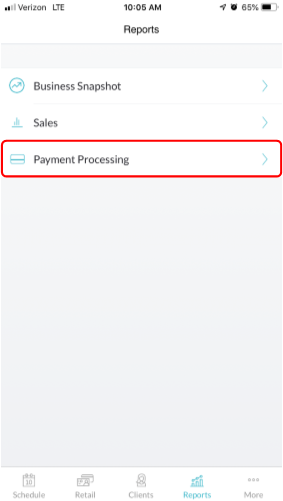
Payment Processing Report
- From the Reports page, select Payment Processing
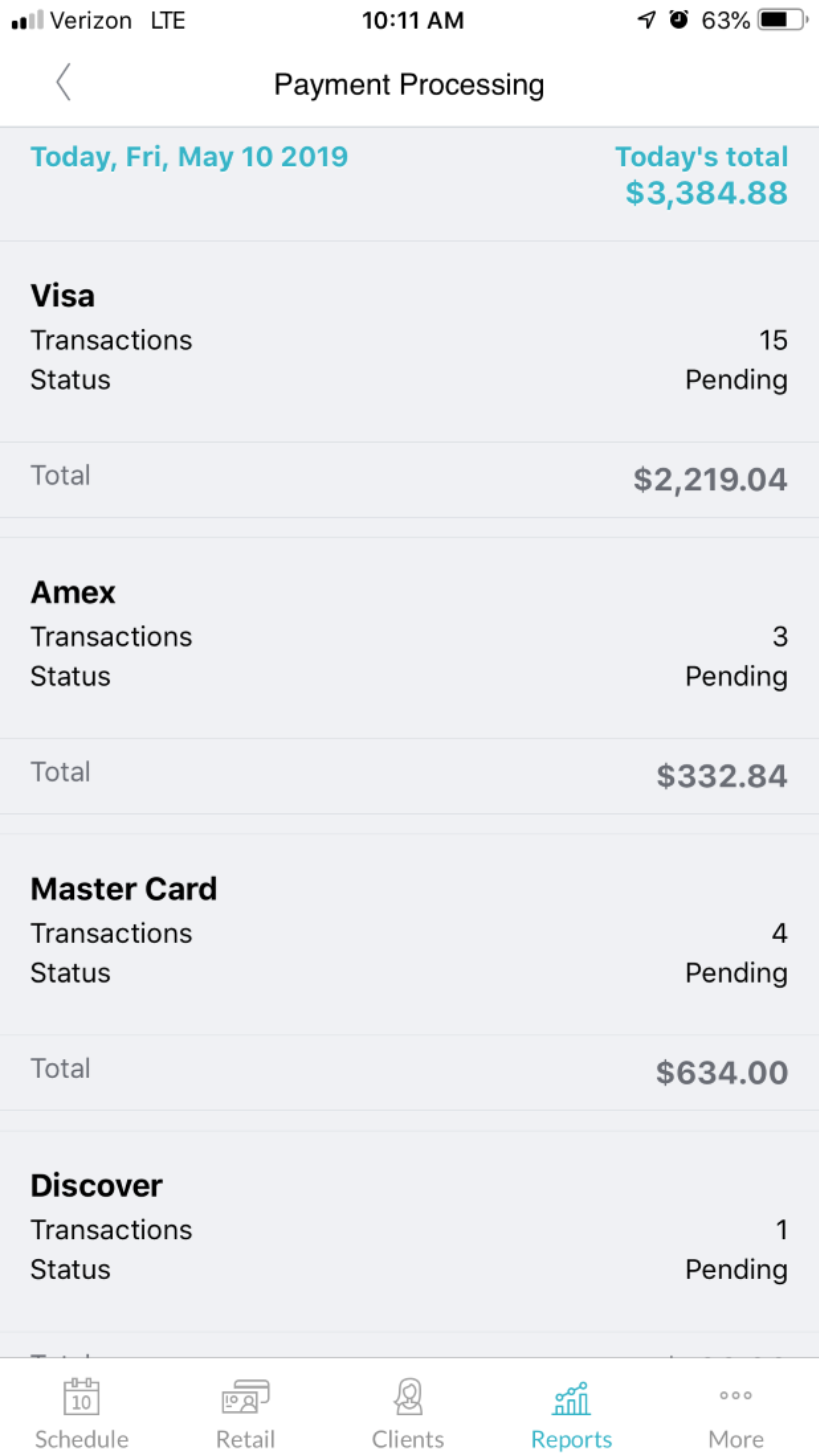
- The Payment Processing page will provide a snapshot of the day's payment processing by payment type
- For a more detailed view tap on the specific payment method and you will see a full list of transactions purchased using that method.