Recording your live stream classes
Outline
Recording your live stream classes is a great way for clients to watch virtual classes they may have missed. In this article, we'll review how to record a live stream class, and how to access that recording in your Video on Demand library.
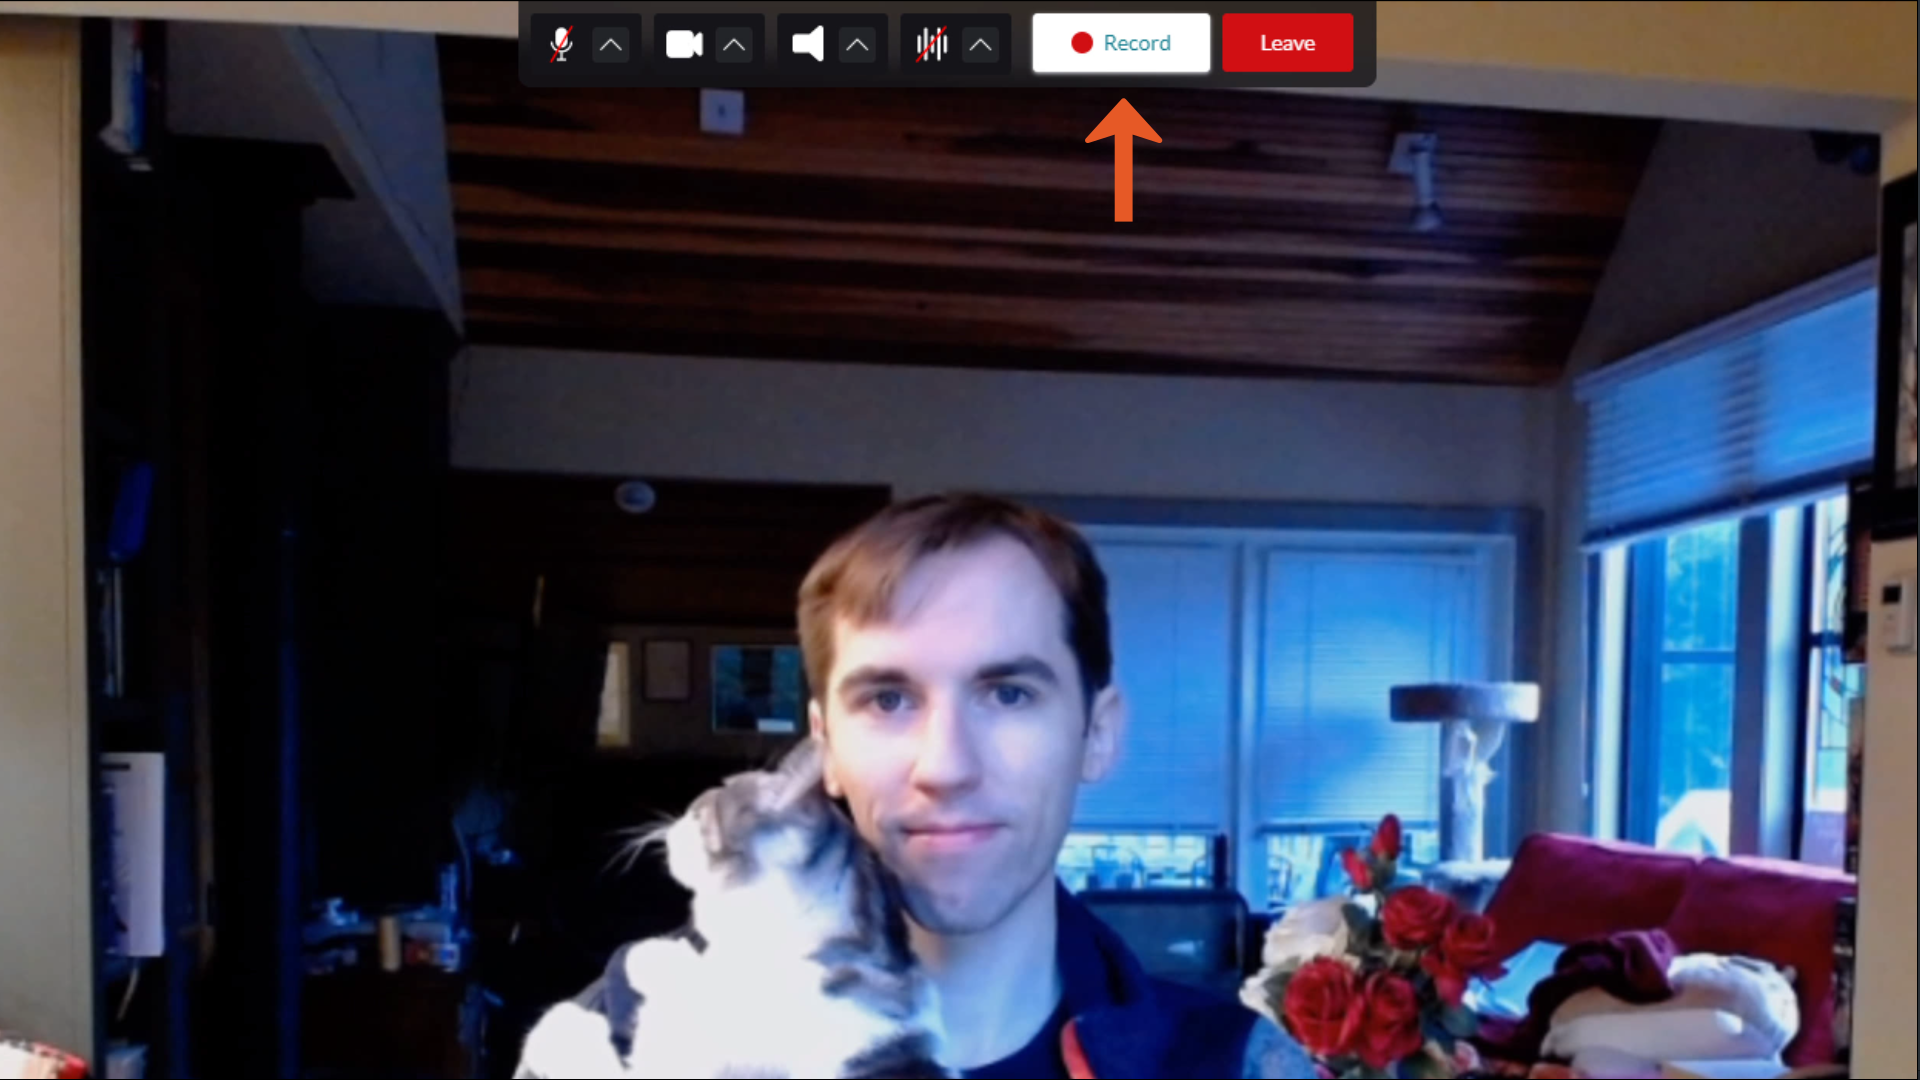
Starting the recording
To begin, start your virtual class as you normally would. Once you've pinned your desired video, simply click the Record button at the top of your screen to begin the recording process.
Clicking the button will begin a 60-second timer -- shown at the top of your screen -- to give you time to prepare.
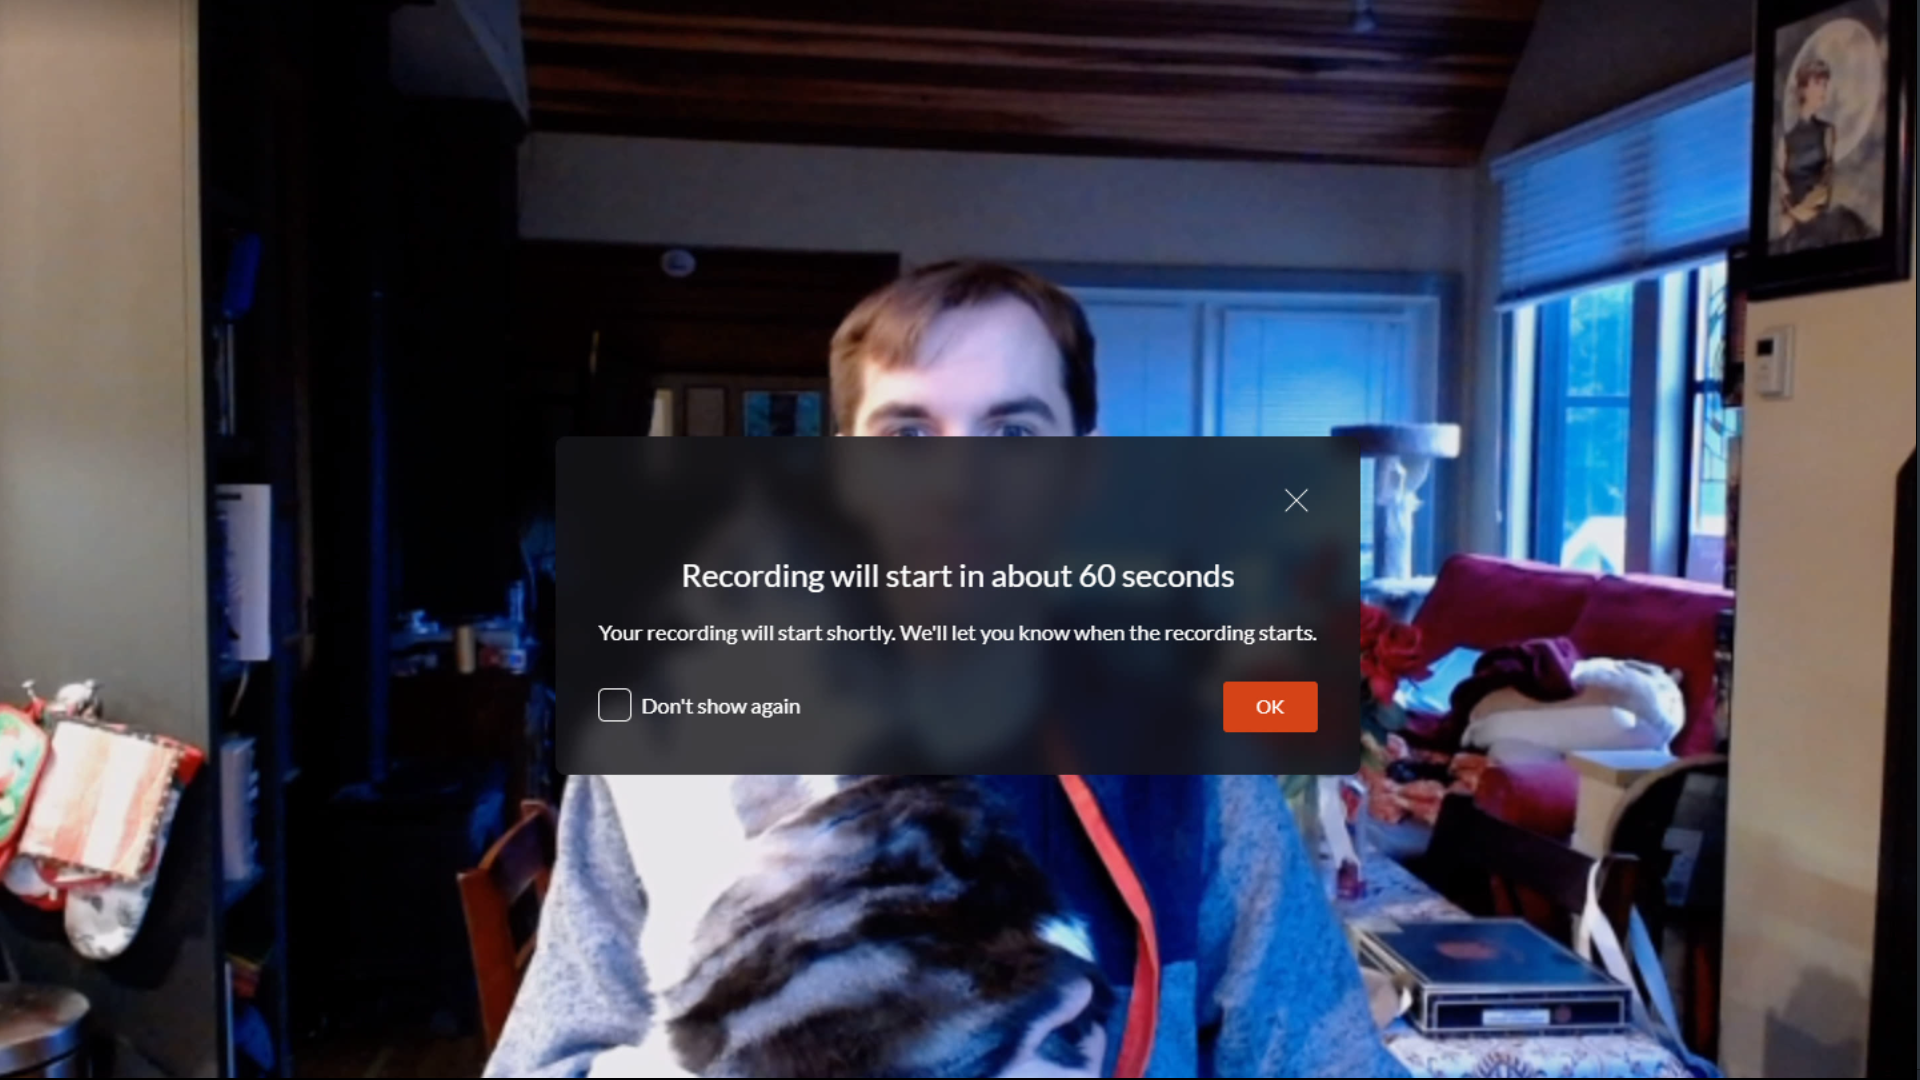
You can use this visual timer indicator to see how much longer you have before recording begins.
The recording will only be of the pinned video, and you can stop the recording at any time by clicking the Stop Recording icon in your component controls at the top of the screen.
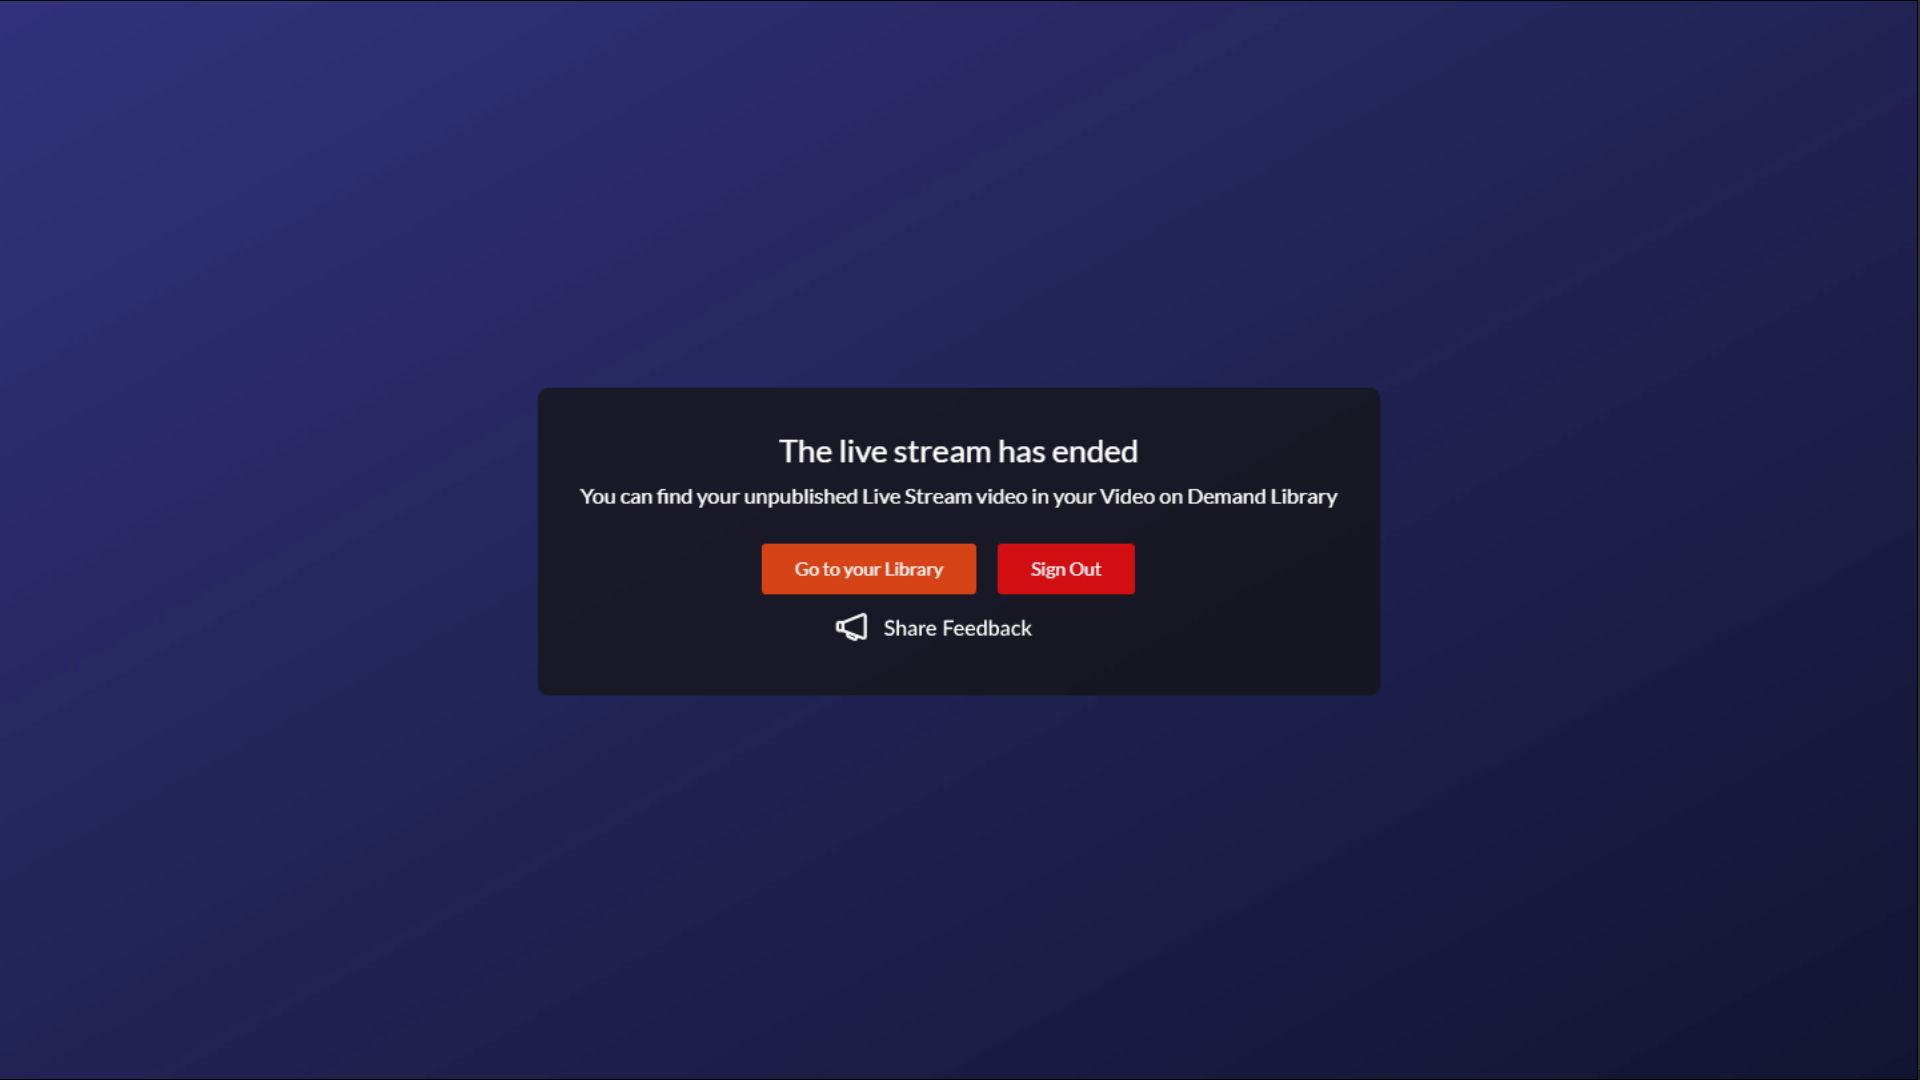
When the live stream has ended, you'll receive a notification that the recording was successful, including a link you can click to be taken to your Video on Demand library.
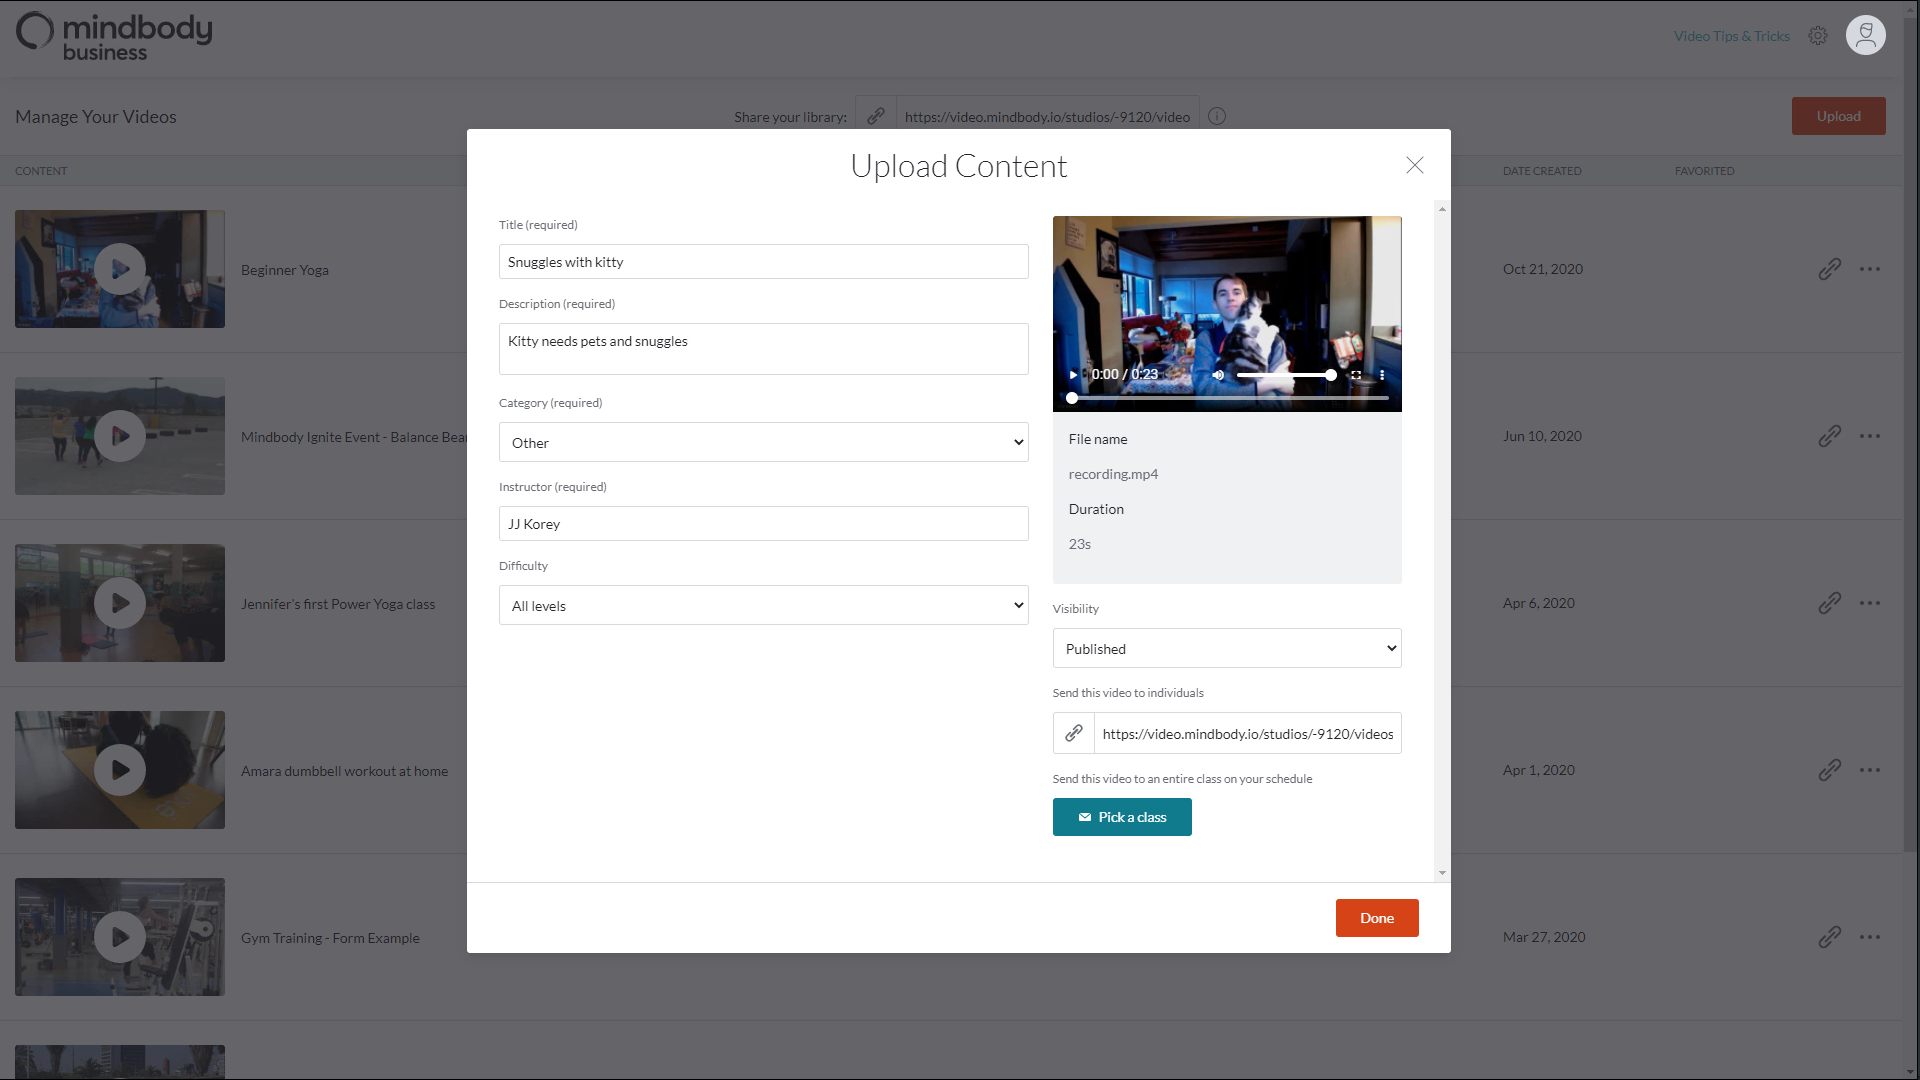
Publishing the recording
In your Video on Demand library, you'll find your recorded class at the top of your uploaded videos. It may take a few minutes for the video to process, so please be patient.
Just like any other video in your library, you can edit the recording's information by clicking on the video name. Here, you'll be able to update the video's details, publish it for viewing by your clients, and even send a video link to an entire class on your schedule.